
5 Steps to Setting Up Social Studies Interactive Notebooks
By Kirsten Hammond
Share This Post:
Are you looking for a fresh and interactive way to engage your students in social studies? You might want to consider (or reconsider) interactive notebooks!
These innovative tools provide a hands-on learning experience that encourages active participation and boosts retention of key concepts.
In this article, I will guide you through the 5 essential steps to setting up social studies interactive notebooks in your classroom. Discover how to create an engaging and organized learning environment that will captivate your students and foster a deeper understanding of social studies.
Let’s dive in and unlock the potential of interactive notebooks in your classroom!
Why use social studies interactive notebooks?
Social studies interactive notebooks are an excellent tool for organizing and reinforcing learning in content-heavy subjects like social studies.
Unlike other subjects where skills are reviewed throughout the year, social studies often introduces new and diverse topics continuously.
Having interactive notebooks allows students to reference their notes and keep track of learning throughout the school year.
When is the best time to set up social studies interactive notebooks?
The ideal time to set up social studies notebooks is during the first week of school, specifically the first few days. It’s beneficial to start with routines and procedures before diving into full-on learning.
If you’re an ELA and social studies teacher, consider setting up ELA notebooks on the first day and social studies notebooks on the second day.
Giving students time to decorate and complete each step ensures their notebooks are ready to use throughout the year.
Steps to Set Up Social Studies Interactive Notebooks
Step 1: Gather supplies and materials
For the interactive notebooks, students will require either a one-subject spiral notebook (70 sheets or 140 pages) or a composition notebook (typically around 100 to 200 pages).
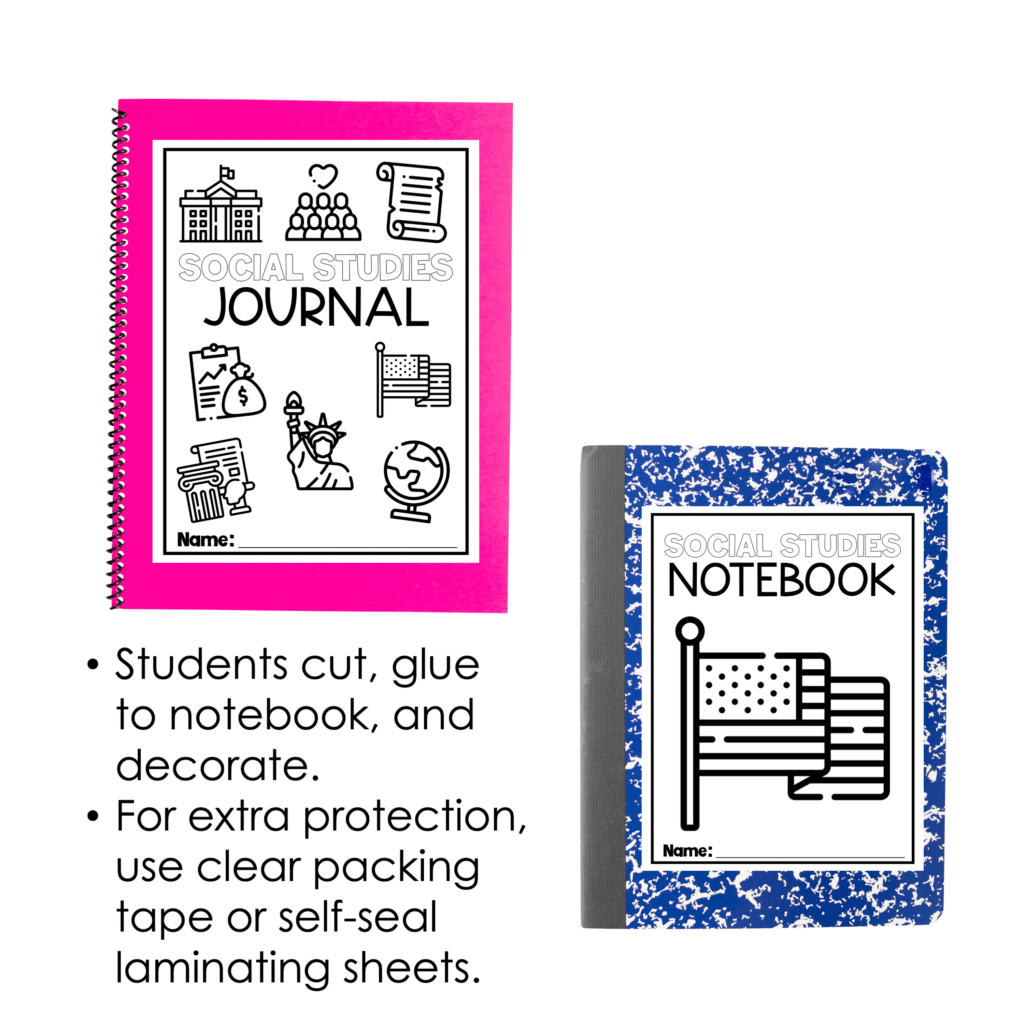
Additionally, you’ll need regular white or Astro brights paper, sticky note labels (two per student), and clear packing tape or laminating sheets for extra protection.
Step 2: Decorate the social studies interactive notebook covers
Give students the freedom to make their social studies notebook unique. They can decorate it collage-style using pictures of family, stickers, or any other elements they like.
Ensure students label the front with “Social Studies Notebook” and their names. Glue the covers to the notebooks for added protection.
Step 3: Create Tabs for Notebooks
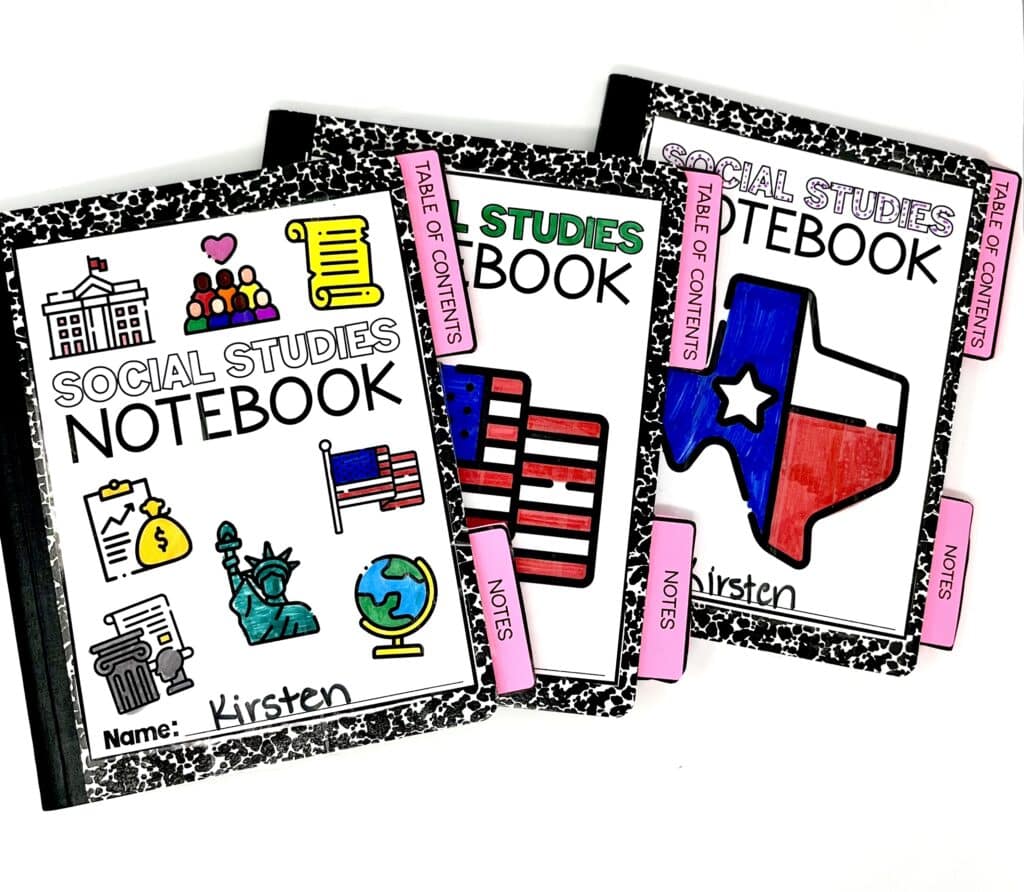
Tabs help students organize their interactive notebooks. To make tabs, provide each student with two sticky note labels.
Have them fold one label over hotdog-style and place it on the first page, about a third of the way down. Label this tab as “Table of Contents.”
On page five, fold the second label and place it on the side, towards the bottom third of the page. Label this tab as “Notes.”

Step 4: Set up the Table of Contents section
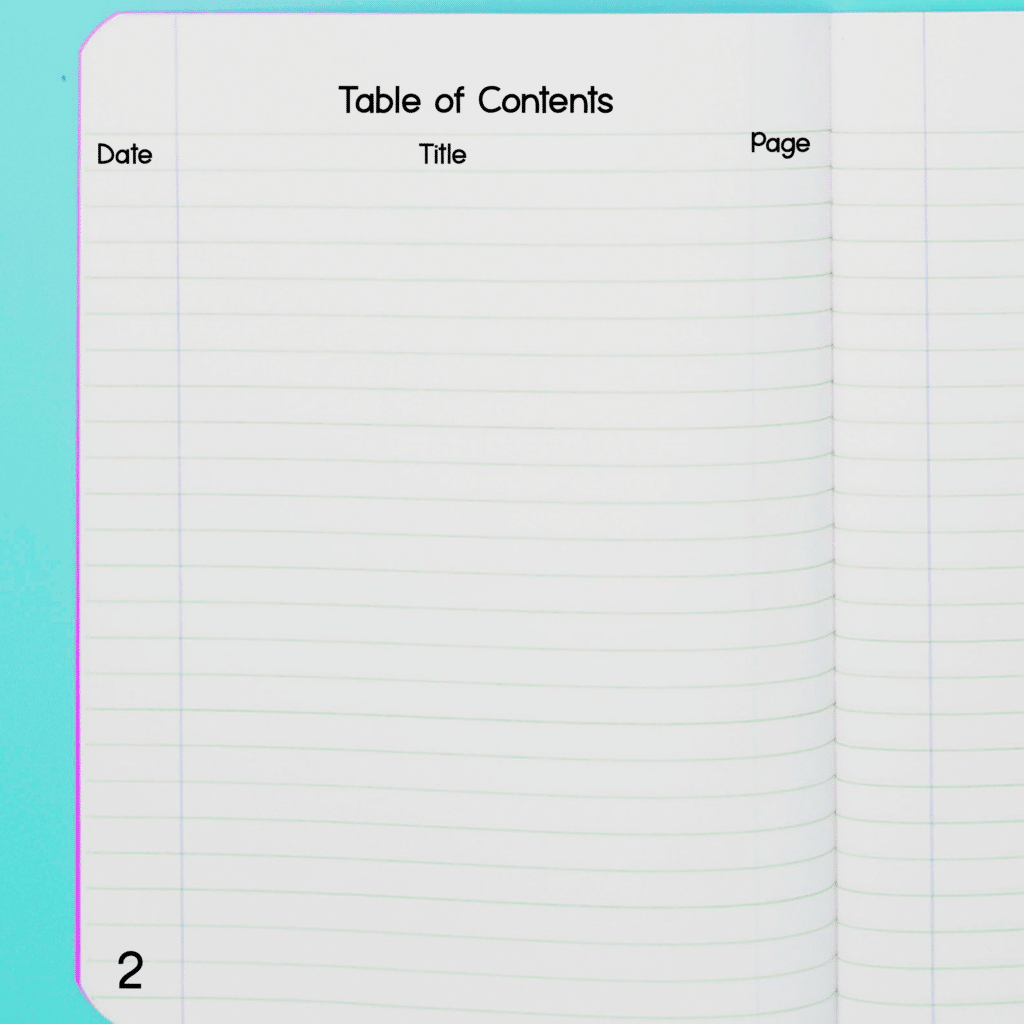
The table of contents section should span pages one through four.
Instruct students to write “Table of Contents” at the top of each page.
On each page, they’ll write the date in the left margin, the title in the middle of the page, and the page number in the right margin. This helps them keep track of their notes effectively.
Step 5: Number the remaining pages
Have students label each page with a number from one to their notebook’s last page (either 100 or more depending on the notebook’s capacity).
Page numbers should be placed at the bottom outside the margins for easy reference.

Creating a Teacher Interactive Notebook
As a teacher, create your own social studies interactive notebook alongside your students! Having separate notebooks for each classclasses can be helpful if students miss a day or need to reference their notes later.
Setting up social studies interactive notebooks in your elementary classroom is a valuable way to help students stay organized and engaged throughout the school year.
By following the step-by-step guide in this blog post, you can create an interactive learning experience that builds essential note-taking skills for your students.
Remember to make the process fun and let students personalize their notebooks to make them truly their own.
If you’re looking for ready-to-use interactive notebook covers and tabs, check out the resource available in my TPT store!
These guided notes will help you get a head-start on some common social studies topics to put in the interactive notebooks!
If students start early with note-taking skills, they will be better prepared for success in the future!
kirsten hammond
Kirsten is a former 3rd and 5th grade teacher who loves helping upper elementary teachers by creating resources and sharing ideas that are engaging, research-based, and TEKS-aligned. She is a work-from-home mama of 3 rambunctious little ones and loves running, true crime, and lots of coffee.


